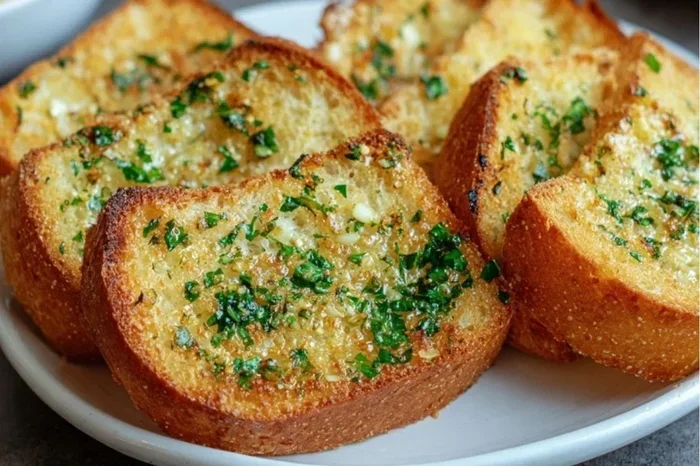
How To Put Garlic Bread In The Oven For Crispy Results
Putting garlic bread in the oven is easier than you think. With the right temperature, timing, and a few simple tricks, you can enjoy crispy, buttery garlic bread straight from your oven. This guide walks you through every step, from prep to pull-out, so your garlic bread always turns out golden and delicious.
There is nothing quite like the smell of garlic bread coming out of the oven. Whether you are feeding a crowd or just treating yourself, crispy garlic bread makes any meal feel special. The good news is that you do not need a fancy recipe or expensive equipment to get amazing results.
In this guide, we will walk you through exactly how to put garlic bread in the oven the right way. You will learn the best temperature, the perfect baking time, and simple tricks that take your garlic bread from ordinary to outstanding. By the end, you will feel confident enough to make garlic bread any night of the week.
Let us get started with the basics so you can enjoy warm, crunchy, buttery garlic bread whenever the craving hits.
Key Takeaways
- Preheat your oven to 375F: This is the sweet spot for crispy garlic bread without burning it.
- Use foil or a baking sheet: It keeps the bottom from getting soggy and helps the top turn golden.
- Brush on garlic butter generously: This is the secret to flavor and crunch in every bite.
- Watch the timing closely: Most garlic bread takes only 10 to 15 minutes to bake perfectly.
- Let it rest for a minute: A short rest after baking keeps the bread from falling apart.
- Experiment with toppings: Cheese, herbs, and spices take your garlic bread from basic to amazing.
📑 Table of Contents
- Why Oven-Baked Garlic Bread Beats Everything Else
- What You Need Before You Start
- How To Prepare Garlic Bread for the Oven
- How To Put Garlic Bread In the Oven: Step by Step
- Tips for the Crispiest Garlic Bread Every Time
- Common Mistakes To Avoid
- Serving Ideas and Pairings
- How To Reheat Leftover Garlic Bread
- Frequently Asked Questions
- Final Thoughts
Why Oven-Baked Garlic Bread Beats Everything Else
You might wonder why we focus so much on the oven. The truth is, baking garlic bread in an oven gives you a level of crispiness and even toasting that a toaster or microwave simply cannot match. When hot air flows around the bread, it heats every side at once. This means you get a golden crust on the outside and a soft, buttery inside.
Here are a few reasons why oven-baked garlic bread stands out:
- Even browning: The oven heats from all sides, so no spot gets left out.
- Better texture: You get that satisfying crunch on the outside without drying out the inside.
- More flavor: Baking melts the garlic butter into the bread, soaking every layer with taste.
- Easy to scale up: You can bake a whole sheet of garlic bread at once for a family dinner.
- Works with any bread type: Baguettes, Italian bread, bagels, and even frozen garlic bread all do well in the oven.
Once you try oven-baked garlic bread, you will never go back to the microwave. It really is that simple of a switch.
What You Need Before You Start
Before you turn on the oven, make sure you have everything ready. Getting your ingredients and tools lined up makes the whole process faster and smoother. Think of it like setting the table before dinner.
Ingredients for Classic Garlic Bread
You do not need much to make great garlic bread. Here is a simple list of what goes into the most popular garlic bread recipe:
- 1 loaf of Italian bread or a baguette
- 4 tablespoons of unsalted butter, softened
- 3 to 4 cloves of fresh garlic, minced
- 1 teaspoon of garlic powder (optional but helpful)
- A pinch of salt
- Fresh parsley, chopped
- A drizzle of olive oil
Feel free to swap in shredded cheese if you like a cheesy garlic bread version. Mozzarella and parmesan both work wonderfully. Some people even add a sprinkle of oregano or red pepper flakes for extra kick.
Tools You Will Need
You do not need any special kitchen gadgets for this. Here is what you likely already have at home:
- A baking sheet or oven-safe dish
- Parchment paper or aluminum foil
- A small bowl for mixing the garlic butter
- A spoon or spatula for spreading
- A sharp knife to slice the bread
That is it. No fancy equipment needed. Just simple tools and a hot oven.
How To Prepare Garlic Bread for the Oven
Preparation is the step most people skip, and it is exactly why their garlic bread does not turn out right. Taking a few extra minutes here makes a huge difference in the final result.
Step 1: Slice the Bread
Start by cutting your loaf in half lengthwise. If you are using a baguette, you can slice it into thick rounds instead. The key is to keep the slices about one inch thick. Too thin and the bread will burn. Too thick and the inside will stay doughy.
Step 2: Make the Garlic Butter
In a small bowl, mix the softened butter with the minced garlic, garlic powder, salt, and a drizzle of olive oil. Stir it all together until it is smooth and well combined. The butter should be soft enough to spread easily but not melted. Cold butter slides off the bread and does not stick properly.
Quick Tip: If you are short on time, you can use store-bought garlic bread from the freezer section. Just follow the package directions and adjust the oven temperature accordingly. Frozen garlic bread is a great shortcut that still delivers crispy results.
Step 3: Spread the Butter Mixture
Lay your bread halves cut-side up on a baking sheet lined with parchment paper. Use a spoon or spatula to spread the garlic butter evenly across the surface. Do not be shy here. A generous coating of garlic butter is what gives you that rich flavor and golden crunch.
If you are making cheesy garlic bread, now is the time to sprinkle shredded cheese on top. Let the butter act as the glue that holds everything together.
Step 4: Preheat the Oven
While you are spreading the butter, turn your oven on. Set it to 375 degrees Fahrenheit. This temperature is the sweet spot for garlic bread. It is hot enough to crisp up the outside quickly but not so hot that it burns before the inside warms through.
Let the oven fully preheat before you put the bread in. This usually takes about 10 to 15 minutes. A properly preheated oven is one of the biggest secrets to getting crispy garlic bread every single time.
How To Put Garlic Bread In the Oven: Step by Step
Now comes the part you have been waiting for. Putting the garlic bread in the oven is simple, but a few small details make all the difference. Let us walk through it together.
Where to Place the Baking Sheet
Slide your baking sheet onto the middle rack of the oven. The middle rack allows hot air to flow evenly around the bread. If you put it too high, the top might burn before the bottom crisps up. Too low, and the bottom can get soggy instead of crunchy.
For best results, position the oven rack in the center before you start preheating.
Baking Time and Temperature Guide
Here is a simple reference table to help you know exactly how long to bake your garlic bread:
| Type of Garlic Bread | Oven Temperature | Baking Time |
|---|---|---|
| Fresh homemade garlic bread | 375 degrees Fahrenheit | 10 to 12 minutes |
| Frozen garlic bread | 375 to 400 degrees Fahrenheit | 12 to 15 minutes |
| Bagel-style garlic bread | 375 degrees Fahrenheit | 8 to 10 minutes |
| Cheesy garlic bread | 375 degrees Fahrenheit | 10 to 15 minutes |
| Leftover garlic bread | 350 degrees Fahrenheit | 5 to 7 minutes |
Keep a close eye on your garlic bread during the last few minutes of baking. Every oven runs a little differently, so the exact timing may vary. You are looking for the edges to turn golden brown and the butter to start bubbling slightly.
How To Know When It Is Done
You do not need a timer to be your only guide. Use your senses. When the garlic bread smells amazing and looks golden on top, it is almost ready. Gently tap the top of a slice. If it sounds hollow and feels firm, it is done.
If you like your garlic bread extra crispy, give it an extra one or two minutes. Just watch it closely so it does not go from perfectly golden to burnt.
Let It Rest Before Serving
Once the garlic bread comes out of the oven, let it sit on the baking sheet for about one to two minutes. This brief rest lets the butter settle into the bread and makes it easier to slice without falling apart. It also keeps your fingers safe from the hot butter.
Tips for the Crispiest Garlic Bread Every Time
Even with a simple recipe, small changes can take your garlic bread to the next level. These tips come from years of baking experience and are easy to follow.
Use Fresh Garlic When Possible
Fresh garlic gives you a much more vibrant and natural flavor compared to garlic powder. If you have the time, mince two to three fresh cloves and mix them right into the butter. The difference in taste is noticeable from the first bite.
Do Not Skip the Olive Oil
A small drizzle of olive oil in your garlic butter does two things. It adds a subtle richness to the flavor, and it helps the bread crisp up faster in the oven. Olive oil also helps the butter spread more evenly across the bread surface.
Try a Quick Broil at the End
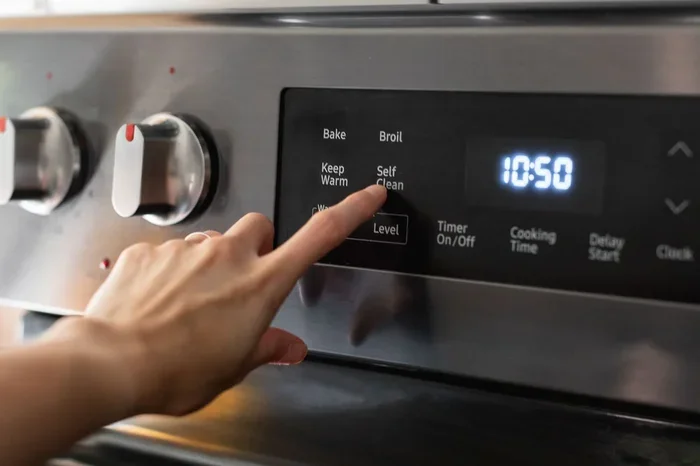
For an extra crispy top, switch your oven to the broil setting for the last one to two minutes of baking. This gives the top layer a beautiful golden-brown finish. But be very careful. Broiling works fast, and garlic bread can go from perfectly crispy to burnt in seconds.
Keep the Bottom Crispy
If you notice the bottom of your garlic bread is getting soggy, try placing a second baking sheet underneath the one with the bread. This creates a little air gap that allows heat to circulate under the bread. It is a simple hack that makes a real difference.
Add Herbs for Extra Flavor
Fresh parsley is the classic choice, but you can also try dried oregano, basil, or thyme. Sprinkle the herbs on top of the butter before baking. They will toast along with the bread and add a wonderful aroma to your kitchen.
Make It Ahead of Time
You can prepare the garlic butter the night before and store it in the fridge. When you are ready to bake, just spread it on the bread and pop it in the oven. This saves time and is perfect for when you need garlic bread on short notice.
Common Mistakes To Avoid
Even experienced cooks make mistakes with garlic bread from time to time. Knowing what to avoid helps you get better results every single time.
Skipping the Preheat
Putting garlic bread into a cold oven is one of the most common errors. A cold start means the bread bakes slowly and evenly, which leads to a soft, pale result instead of a crispy, golden one. Always wait for the oven to reach the full temperature before you slide the bread in.
Using Too Much Butter
It might seem like more butter equals more flavor, but that is not always true. Too much butter can soak into the bread and make it greasy and soggy. A thin, even layer coats each slice perfectly without overwhelming it.
Baking at Too High a Temperature
Some people crank the oven up to 425 or 450 degrees Fahrenheit to speed things up. The problem is that the top burns long before the inside warms through. Stick with 375 degrees Fahrenheit for the best balance of crisp and warmth.
Not Watching the Bread
Ovens vary, and garlic bread can go from perfect to burnt in just a minute or two. Set a timer and stay nearby. Checking on your garlic bread every few minutes gives you control over the final result.
Using Stale Bread
Fresh bread gives you the best texture. Stale or old bread can turn hard and crunchy instead of crispy and chewy. If you only have day-old bread, lightly brush it with a little olive oil before adding the garlic butter. This helps revive the texture slightly.
Serving Ideas and Pairings
Garlic bread is delicious on its own, but it also pairs beautifully with many meals. Here are some ideas to make the most of your crispy creation.
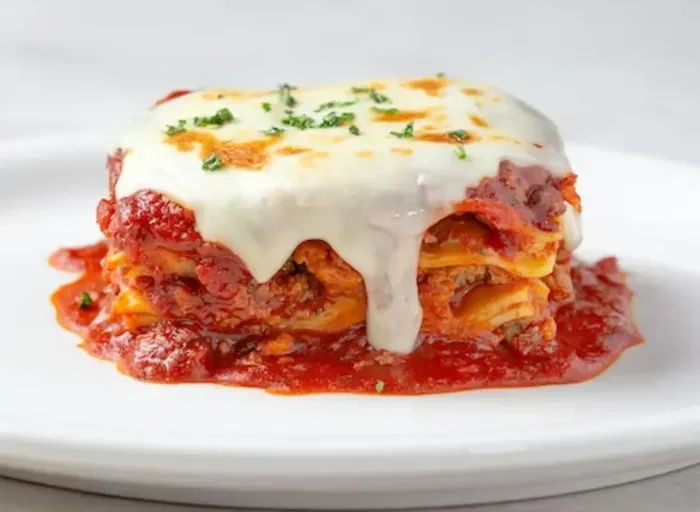
- Pasta dishes: Garlic bread is a natural partner for spaghetti, lasagna, and fettuccine Alfredo.
- Soup: A warm bowl of tomato soup with garlic bread is a classic combination.
- Salads: Use garlic bread as a crunchy side alongside a fresh green salad.
- Stews: Thick, hearty stews taste even better with a thick slice of buttery garlic bread for dipping.
- Bruschetta: Top garlic bread with diced tomatoes, basil, and a splash of balsamic vinegar for a light appetizer.
The beauty of garlic bread is that it works with almost any meal. Keep a loaf and some garlic butter on hand, and you are always ready to whip up a quick side dish in minutes.
How To Reheat Leftover Garlic Bread
If you have leftover garlic bread, do not throw it away. Reheating it in the oven keeps it crispy, unlike the microwave which can make it rubbery.
Preheat your oven to 350 degrees Fahrenheit. Place the leftover garlic bread on a baking sheet and warm it for five to seven minutes. This brings back the crispiness and melts any cheese that might be on top. A quick spritz of water on the bread before reheating helps keep the inside soft.
Expert Insight: Reheating in the oven is the best way to maintain the texture of garlic bread. The dry heat refreshes the crust without making the bread tough or chewy.
Frequently Asked Questions
Can I use frozen garlic bread straight from the freezer?
Yes, you can. Frozen garlic bread is designed to go straight into the oven. Preheat your oven to 375 degrees Fahrenheit, place the frozen slices on a baking sheet, and bake for 12 to 15 minutes. There is no need to thaw them first. Just add a couple of extra minutes if you want them extra crispy.
What is the best oven temperature for garlic bread?
375 degrees Fahrenheit is the ideal temperature for most garlic bread recipes. It heats the bread evenly and crisps up the outside without burning the butter or garlic. If you are using frozen garlic bread, you can bump the temperature up to 400 degrees Fahrenheit for a slightly crispier result.
How long should I bake garlic bread in the oven?
For fresh homemade garlic bread, 10 to 12 minutes at 375 degrees Fahrenheit works perfectly. Frozen garlic bread takes a bit longer, around 12 to 15 minutes. Always watch the bread during the last few minutes and pull it out when the top turns golden brown and the edges start to crisp.
Can I put garlic bread on the top oven rack?
It is best to use the middle rack for even cooking. The top rack can cause the bread to brown too quickly on top while the bottom stays soft. If you want a crispier top, you can move the bread to the top rack for the last one to two minutes of baking only.
How do I make garlic bread more crispy?
Use a thin, even layer of garlic butter and place the bread on a parchment-lined baking sheet. You can also brush the top with a little olive oil before baking. For an extra crispy finish, switch the oven to broil for the last one to two minutes. Just keep a close eye on it to prevent burning.
Can I add cheese to garlic bread before baking?
Absolutely. Adding shredded mozzarella, parmesan, or even cheddar on top of the garlic butter before baking creates a delicious cheesy garlic bread. The cheese melts and bubbles in the oven, adding flavor and a beautiful golden finish. Just add a minute or two to the baking time to make sure the cheese melts completely.
Final Thoughts
Making garlic bread in the oven is one of the easiest and most rewarding things you can do in the kitchen. With the right temperature, a little garlic butter, and a watchful eye, you can enjoy crispy, golden, flavorful garlic bread in less than 15 minutes. It pairs with so many meals and brings a homemade touch that store-bought versions simply cannot match.
Remember the key points: preheat your oven to 375 degrees Fahrenheit, spread the garlic butter generously, bake for 10 to 15 minutes, and keep an eye on the bread as it cooks. Follow these simple steps and you will have perfect garlic bread every single time.
Now that you know exactly how to put garlic bread in the oven, it is time to give it a try. Grab a loaf, whip up some garlic butter, and let your oven do the work. Your kitchen will smell amazing, and your family or guests will be impressed. Happy baking!